The Worst Advice You Could Ever Get About AI Image Upscaler
AI image upscalers have transformed how we enhance low-resolution images. They use deep learning to add detail, improve sharpness, and upscale photos without the pixelation that plagued older methods. But while the technology is powerful, there’s plenty of bad advice circulating—some of which could damage your workflow, waste time, or even compromise quality. Here’s a look at the worst advice you could ever get about AI image upscalers, and why you should steer clear of it.
“All AI upscalers work the same”
This is one of the most misleading pieces of advice you’ll hear. Not all AI upscalers are created equal. Some are optimized for real-world photography, others for anime, digital art, or medical imaging. A generic solution may work, but it won’t always deliver the best results for specific use cases. Relying on the wrong tool might give you blurry, over-sharpened, or unnatural images. Always test different tools and see which one is best for your content.
“You can upscale any image to any size with perfect results”
While AI is powerful, it’s not magic. Believing you can take a tiny, blurry 100×100 image and turn it into a crisp 8K masterpiece is wishful thinking. AI upscalers infer details—they don’t “invent” them perfectly. Pushing an image too far beyond its original resolution can lead to odd artifacts, fake textures, or unrealistic detail. It’s always best to work with the highest resolution you can find before upscaling.
“Free AI tools are just as good as paid ones”
It’s tempting to rely on free AI image upscaler, and some are surprisingly decent. But the truth is, premium tools usually offer more advanced algorithms, better hardware support, and higher output quality. Free tools often limit file size, add watermarks, or use outdated models. If quality matters—like for professional design, prints, or e-commerce—it’s worth investing in a reputable paid option.
“No need to check results—AI always gets it right”
Blind trust in automation is risky. AI upscalers are not foolproof. They can over-smooth faces, distort text, or introduce odd patterns. You should always review the output closely and make manual adjustments if needed. Combining AI results with light manual editing often produces the best outcome.
7 Simple Secrets to Totally Rocking Your AI Image Enhancer
In today’s digital age, enhancing images has never been easier thanks to powerful AI image enhancer tools. Whether you’re a photographer, content creator, or social media enthusiast, these tools can take your visuals to the next level. But simply using them isn’t enough. Here are 7 simple secrets to totally rock your AI image enhancer like a pro.
- Start with High-Quality Originals
AI can work magic, but it’s not a miracle worker. Begin with the highest quality image possible. The better the resolution and clarity, the more accurately the AI can enhance sharpness, color, and details.
- Understand the Tool’s Capabilities
Every AI image enhancer is different. Some focus on noise reduction, while others enhance lighting, color, or facial features. Spend time exploring your tool’s features. Knowing what it does best helps you get the most out of it.
- Use the Right Enhancement Level
More is not always better. Applying extreme enhancements can lead to over-sharpening or unnatural colors. Use moderation. Start with auto settings, then fine-tune manually to maintain a natural look.
- Keep Skin Tones Realistic
When enhancing portraits, pay close attention to skin tones. AI tools can sometimes make faces look plastic or overly smooth. Adjust sliders carefully to retain realistic textures and natural skin color.
- Batch Process for Consistency
If you’re working with a set of images, use the batch processing feature (if available). It ensures consistent results and saves time. Just make sure all the photos are shot under similar conditions.
- Leverage AI Upscaling
One of the most powerful features of modern enhancers is AI upscaling. It can increase the resolution of your images while maintaining quality. Use this when you need to print photos or display them in large formats.
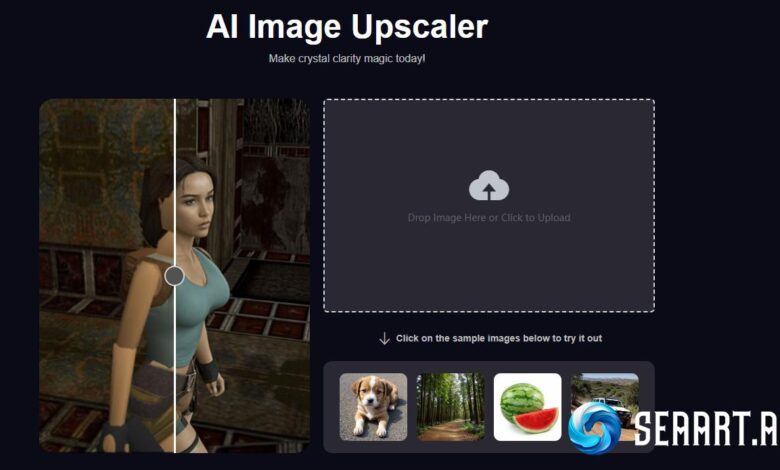
- Always Compare Before and After
Use the side-by-side or split-screen view to compare your original image with the enhanced version. This helps you avoid over-editing and ensures your changes actually improve the photo.
Final Thoughts
An AI image enhancer is a powerful ally, but it still requires your creative input. With these simple tips, you’ll not only improve the look of your photos—you’ll stand out in a crowded visual world. So go ahead, experiment, and let your images shine like never before!